
Corn SyrupWhite
The glitter will appear as snow in a real snow globe. VERSION 2. Fill the jar with baby oil or corn syrup, and a little water. Add glitter; Glue toy or seashell to the lid of with glue and put the lid on the jar (seal with glue). (Make sure you use waterproof glue - ADULT assistance required!). When dry, turn the jar upside down and give it a.

Snow Globe 45 NFT Collection Airnfts
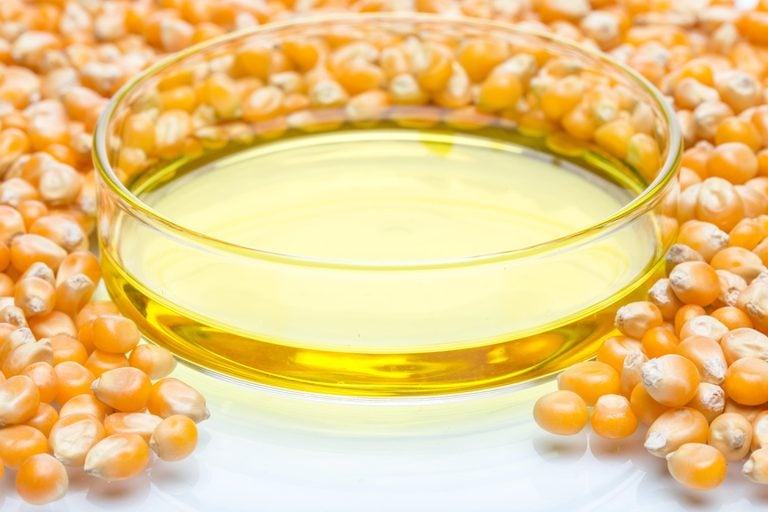
Distilled water, glycerin, or corn syrup: These are your snow globe liquid options. Distilled water is the safest option because it won't cloud or discolor over time. Glycerin and corn syrup can be used in place of water to add thickness and density to the liquid. Glycerin is the better choice if you want your snowflakes to fall slowly, while.
U.S. Soil Announces a New Planters II Foundation Minerals Dealer in
Unscrew the lid of the plastic snow globe and remove the water-tight insert. Fill the globe 2/3 full of hot water. Add in 2-3 tsp of light corn syrup. You can eyeball the amount. The corn syrup adds viscosity to the water so that the glitter doesn't settle as quickly. Replace the water-tight insert and screw on the lid of the snow globe.

Made this today ) DIY picture snow globe wedding winter 1/2 corn syrup
Let cool completely. Place the cookies on the Silicon Mat. Melt the Isomalt crystals according to the directions on the package. Pour the melted candy into the center of the cut out circle and let harden. Using a pastry brush lightly brush corn syrup on the base of the "snow globe" and immediately dip in the red decorating sand.

Snow globe made with half water, half corn syrup, glitter and a rusty
Materials Needed for Your Snow Globes: Baby food jars. Distilled Water. Corn Syrup or 3 drops of glycerin. Plastic Cake or Cupcake toppers (Purchase at party store) Glitter (iridescent or white) Silicone Rubber Sealant. Sand Paper. Adult Prep: Lightly sand the inside of the lid and put a generous amount of rubber sealant over it to hold the.

snow globe scenes Lawn Fawn
1. Fun and Easy DIY Snow Globe for a Gift. Craft your winter wonderland with this easy-to-make DIY snow globe. This project requires simple materials such as a snow globe kit or small jars, small ornaments, glitter or fake snow, and a hot glue gun, all of which can be found at home or your local dollar store.

Does Corn Syrup Go Bad? How Long Does Corn Syrup Last?
Then, let it dry before continuing. Step 2: Add corn syrup, water, and glitter. Next, fill the jar almost full with corn syrup. Then, add a little water and a few teaspoons of glitter. It's not an exact science, so don't overthink the ratios. Step 3: Screw on the lid, shake, and flip.
What Is Corn Syrup, and What Corn Syrup Substitutes Can You Use?
Step 3: Add liquid to the globe. Add 1 Tablespoon of glycerin to the globe part of the snow globe. The more glycerin you add, the slower the glitter will fall. Pour in a generous amount of glitter -- approximately 1/2 a teaspoon, but it doesn't need to be exact. Fill the snow globe with water, almost all the way to the top.
Wild Harvests Bigleaf Maple Syrup
5. Turn your jar upside-down and watch the snow fall inside your homemade DIY snow globe. 6. Now add several drops of liquid glycerin (or an equal amount of corn syrup) making sure you leave room for air at the top. Repeat step 5. 7. Finally, if you like, you may decorate the base (lid) of your snow globe with ribbon, fabric, or pretty paper.

Dawn Corn, Menifee, CA Real Estate Associate RE/MAX Diamond Prestige
Time needed: 20 minutes. Learn how to make a snow globe from a few simple recycled materials. Cut Foam. Cut a circle out of the foam roughly the size of the interior lid of the mason jar. You want to make sure the lid will close easily. Hot glue the foam onto the lid of the plastic insert. This will be the "stand" for your scene.

Corn Syrup Bakers Ki Duniya
While it's totally possible to make snow globes without glycerin, doing so is the easiest and simplest method for making snow globes. That said, if you can't find glycerin or want to make snow globes last minute and don't have any on hand, try these alternates: Clear glue; Light corn syrup; Mineral oil; Baby oil; Clear cooking oil

Creating a snow globe ornament. Creating a snow globe ornamet. By
Fill jar about 3/4 full of water (or about 1/2 if using corn syrup). 3. Put a few pinches of glitter or fake snow in the jar. 4. Screw the lid on very tightly. 5. Turn your jar upside-down and watch the snow fall inside your homemade DIY snow globe. 6. Now add several drops of liquid glycerin (or an equal amount of corn syrup) making sure you.
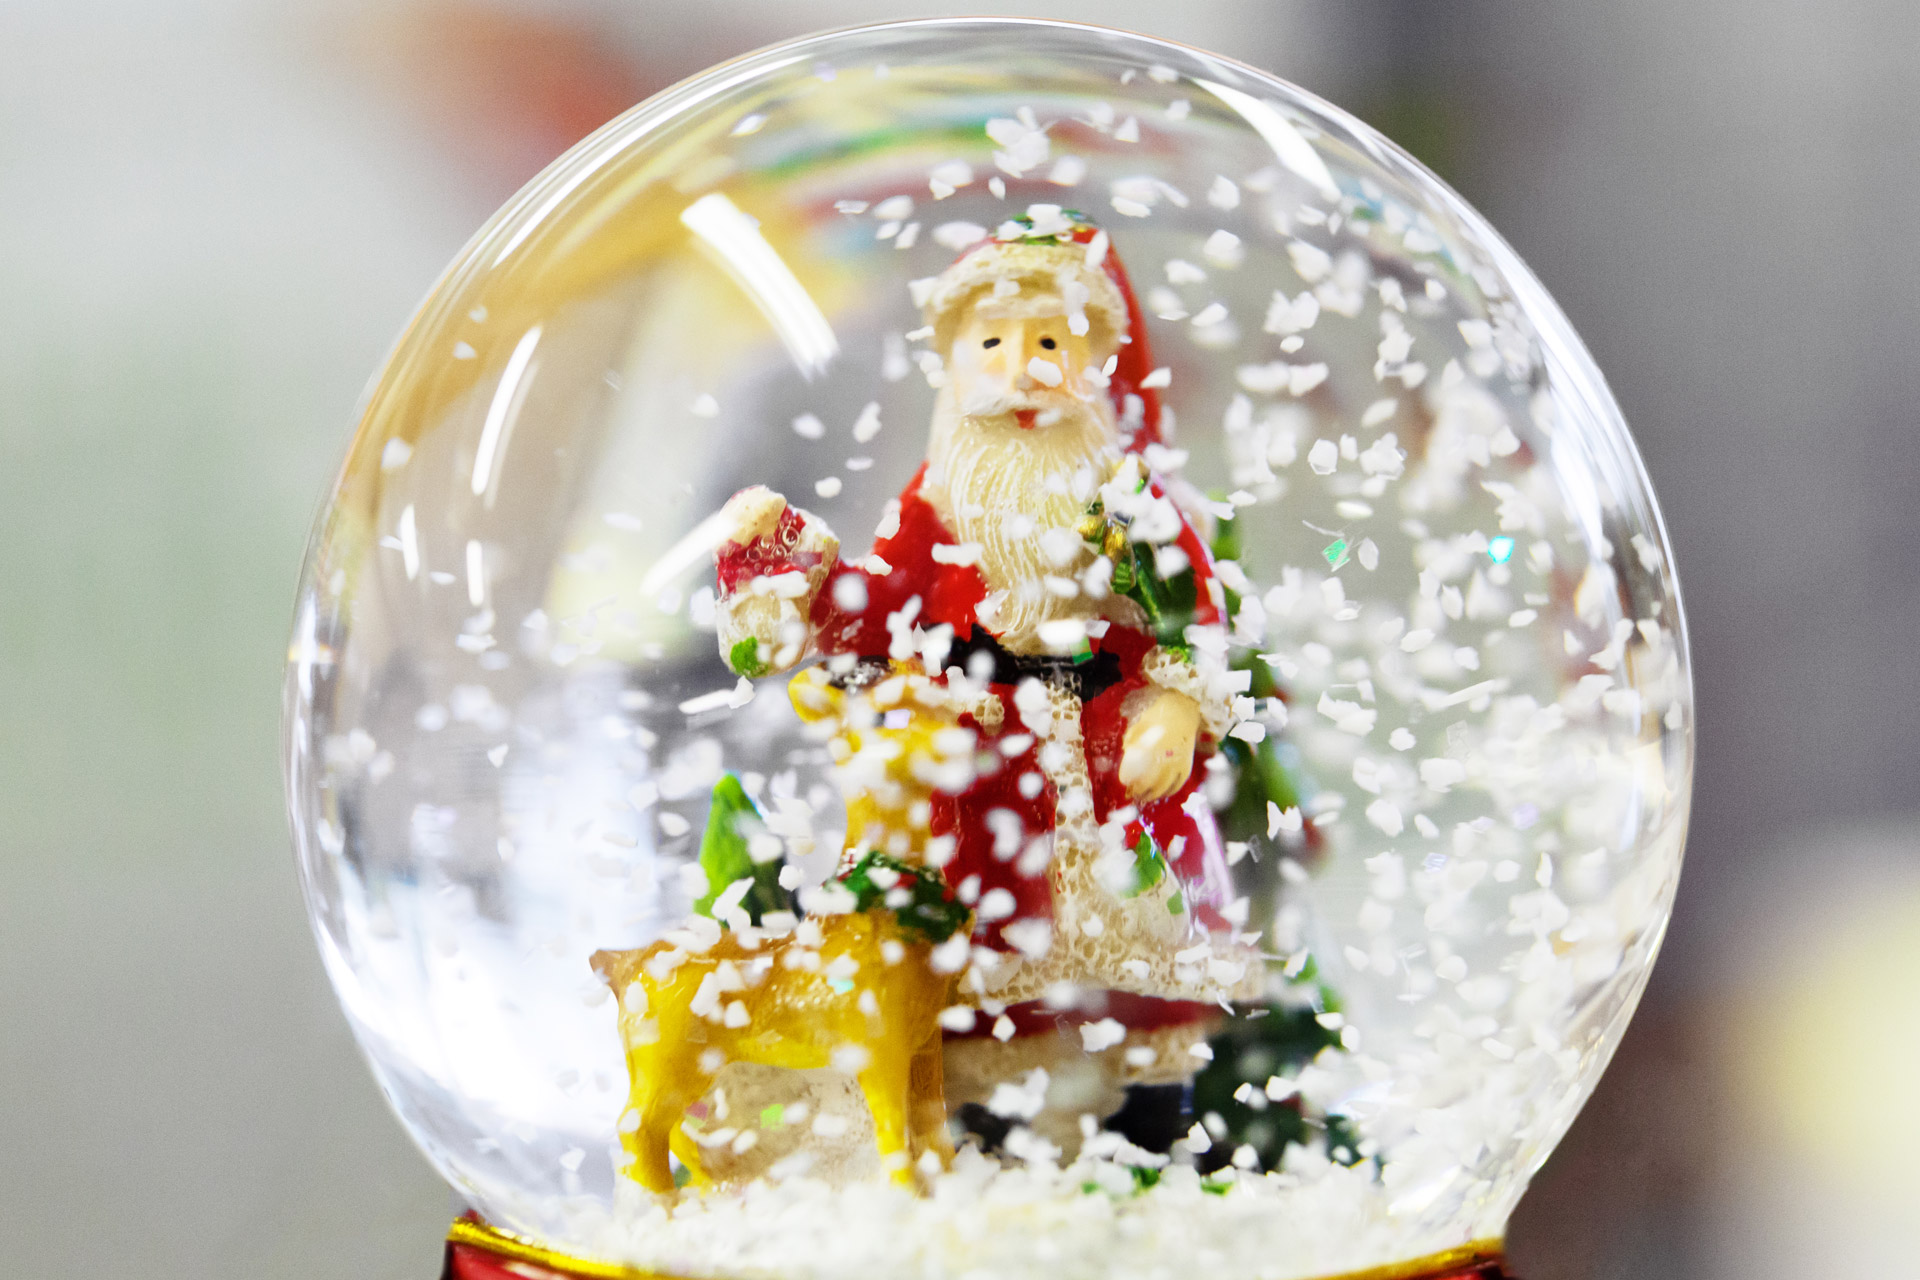
Christmas Snow Globe Free Stock Photo Public Domain Pictures
How to make your Snow Globe Craft. Place the jar on a paper plate or some newspaper. Fill the jar 1/3 of the way full with corn syrup. The corn syrup helps the glitter stay in suspension longer. You will use water to fill the rest of the jar. At this point, only add about half of the water you need and then mix the corn syrup and water together.

Clearing snow, 1951, Sweden. Tumblr Pics
Transfer to a bowl and set aside. When ready to bake, preheat the oven to 325°F (165°C) fan assist and line two cookie sheets with parchment paper. Set aside. On a lightly floured surface, roll out the dough to ⅛-inch (3mm) thick and cut 16 circles using a 3½ -inch (9cm) cutter.

Corn Syrup and High Fructose Corn Syrup Indiana Sugars
THE SHIVERS ATMOSPHERE. We strive to be not just a food truck, but an atmosphere. A place where you will see a familiar face while your taste buds are patiently waiting in line. A place where at any given time you will see picnic blankets of families and friends strewn across the lawn spending time together. A place where the music plays old.

Light Corn Syrup (473ml) Sweet Wonderland
Just use light corn syrup) Step by step guide on how to make your snow globe. Follow our step-by-step guide on how to make your own handmade snow globe. Step 1 - Glue the bottom of your decoration or ornament to the inside of the jam jar lid. Step 2 - Add water. Don't fill the jar right to the top because you'll need room for the ornament.
