
Acrylic Bath Repair Kit/Unboxing & Using/ Rapid Set/How To Repair Holes & Cracks In Bathtub And
Clean thoroughly. Like, really clean that sink. Focus on the cracked area and use a degreaser to make sure you get all the grime and junk out of there. Sand the area with a very fine (400 grit.

Tub, Tile, Porcelain and Shower Fiberglass Repair Kit for White Tubs, 3.5oz Waterproof Tub
Rub the area with a finger dipped in warm soapy water, until the patch is smooth and molded perfectly. Allow cure time of 15-60 minutes before sanding. Sand the area lightly with emery paper until smooth. Apply porcelain touch up paint to the area and allow paint to dry. There are several brands of porcelain sink repair kits on the market, but.

How to Fix a Cracked Porcelain Sink (8 Steps) Prudent Reviews
What You Need To Fix Broken Porcelain Sink Step 1: Clean And Dry The Sink Step 2: Sand Down Over The Cracks Step 3: Mix The Resin Epoxy Step 4: Fill The Cracks With Resin And Repaint Step 5: Sand The Repaired Area Step 6: Re-apply The Glaze Layer Why Is My Porcelain Sink Cracking? 1. External Force 2. Chemical Reactions 3.
Bathroom Sink Crack Repair Kit Semis Online
Step 5: Choose Paint Color and Apply. Test the paint you believe to be the best match by applying a small amount to the sink area. If you need to adjust the color, mix in some white paint. Apply with the fine, detail brush. Let it dry overnight. Repair cracked resin on a bathroom sink basin by using a two-part epoxy product or a solid surface.

How to Fix a Cracked Porcelain Sink (8 Steps) Prudent Reviews
Our complete Ceramic Repair Kit has all you need to prime, fill and fully repair cracked and chipped ceramic using the same tools and techniques as professionals. Repair chips to your bathtub, sink, toilet, wall and floor tiles without the need to replace them. Guarantee - 1 year Features and benefits Professional grade, non toxic and durable
Top 10 Best Porcelain Sink Repair Kit By Editor blinkx.tv
Step One: Clean the broken edge of the porcelain with mild dish soap and a soft cloth. Rinse well and dry thoroughly. After you have done that, you are ready to move on to the next steps of repairing your beloved sink. Step Two: To repair a cracked porcelain sink, you need to use an adhesive.

Ceramic Sink Repair Kit Sink Accessory Sinks
Mix Your Epoxy Color and Resin. Mix epoxy color that matches the sink into a small amount of epoxy resin from a knife-grade two-part epoxy kit on a piece of scrap cardboard. Use a stirring stick to stir the color in until the resin is a uniform color. Add the same amount of epoxy hardener to the resin/color mixture and stir it with the stirring.

Buy MagicEzy Bath & Sink RepairEzy (White) Porcelain Bath Repair Kit Easy Bathtub Chip
Product Details Devcon's Fiberglass, Porcelain and Plastic Repair Kit repairs small holes and cracks in bath and tub fixtures. The epoxy repair kit mixes to a white color, but the almond/bisque pigment can be added for color matching. Use to repair bathtubs, shower stalls, surrounds and sinks. For use on plastic, fiberglass and ceramics.
Tub Repair Kit White for Acrylic, Porcelain, Enamel & Fiberglass Tub Repair Kit for Sink, Shower
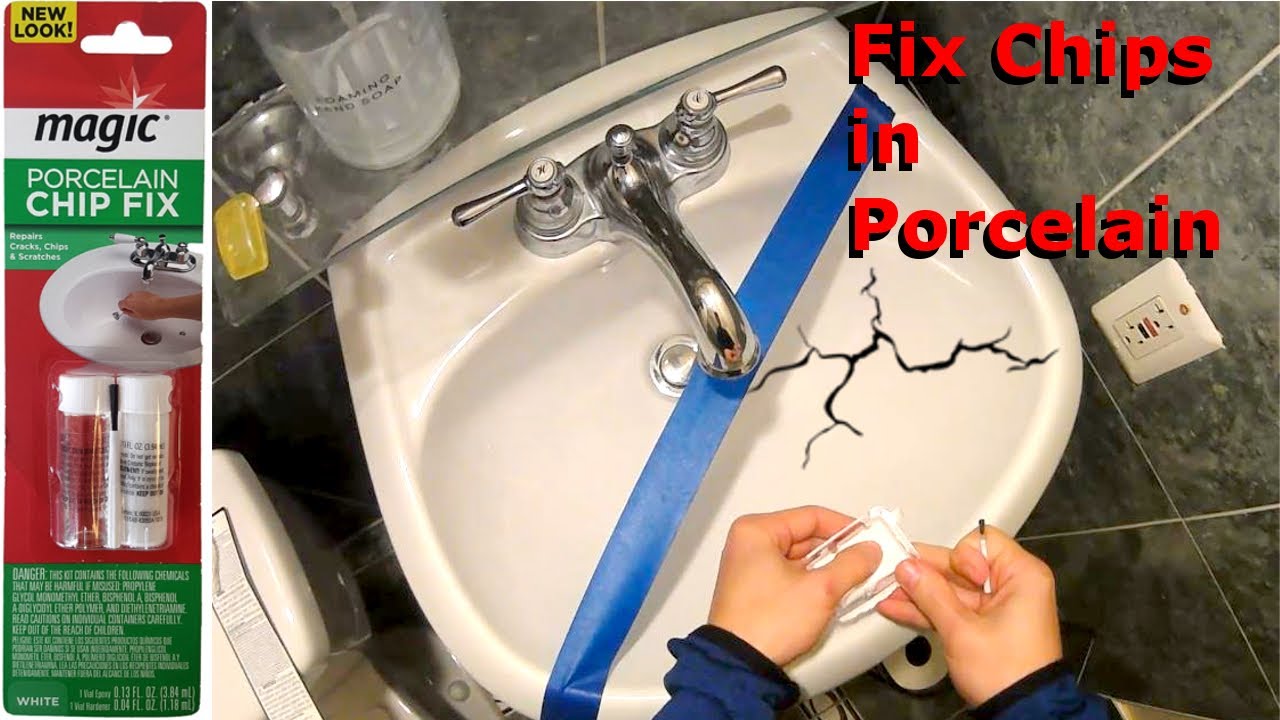
Plumbing Accessories / Sealants Magic 0.17 oz. Porcelain Chip Fix Repair for Tubs and Sinks (346) Questions & Answers (89) +2 Hover Image to Zoom $16.78 High gloss finish hides chips and scratches Designed for use on porcelain, ceramic and enamel Two-part epoxy is durable and easy to apply View More Details Out of Stock

Caple Alpine White Ceramic Sink Repair Kit REPAIRKIT
Amazon.com: Bathroom Sink Repair Kit 1-48 of over 1,000 results for "bathroom sink repair kit" Results Price and other details may vary based on product size and color. Bath Repair Kit White, Endhokn Enamel, Porcelain, Acrylic, Fiberglass, Ceramic Sink, Tub Tile Toilet Shower Kit & Tray & Chip & Pedestal Crack Hole Scratches Repair 1,132

How to resurface a sink B+C Guides in 2021 Refinishing kit, Sink, Kitchen sink remodel
Milliput - Plumbers Putty - Porcelain Repair Kit - Superfine White Epoxy Putty 2 Pack with Gloves - Fiberglass Bathtub Chip and Ceramic Tile Repair Kit, Cracked Sink, Tub and Tile Refinishing Kit Brand: Creative Crafters 4.6 102 ratings 50+ bought in past month $3300 ($4.12 / Ounce) Get Fast, Free Shipping with Amazon Prime FREE Returns

Buy Tub, Tile and Shower Repair Kit, Fiberglass Repair Kit and Porcelain Repair Kit for Sink
Porcelain Repair Kit, Ceramic Tile Repair Kit Filler (White), Quickly Fix Tile Chips and Sink Cracks with Super Strong Adhesion, for Ceramic, Porcelain, Acrylic, Fiberglass, Enamel 28 500+ bought in past month $1390 Join Prime to buy this item at $11.90 FREE delivery Fri, Nov 3 on $35 of items shipped by Amazon Or fastest delivery Wed, Nov 1
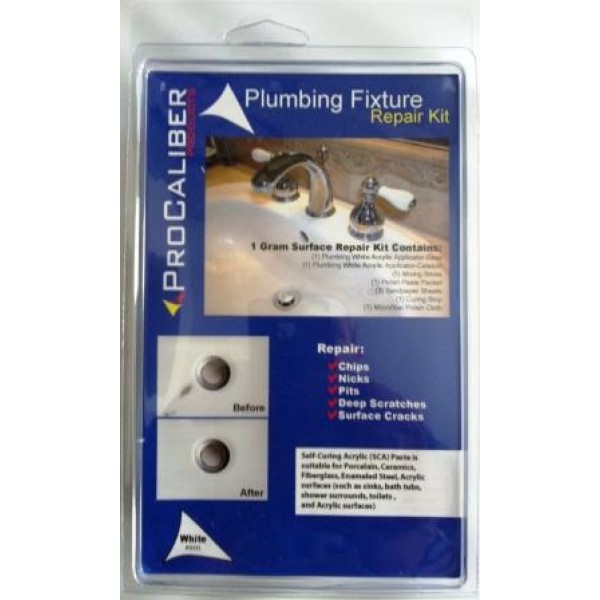
Sink, Tub, Tile & Toilet Chip and Crack Repair Kit White SCA Paste
1-48 of 460 results for "ceramic sink repair kit" Results Bath Repair Kit White, Endhokn Enamel, Porcelain, Acrylic, Fiberglass, Ceramic Sink, Tub Tile Toilet Shower Kit & Tray & Chip & Pedestal Crack Hole Scratches Repair 1,053 1K+ bought in past month $1799 FREE delivery Mon, Dec 4 on $35 of items shipped by Amazon Best Seller
/IMAGE-1-Sink-1-56a4a2d95f9b58b7d0d7f01f.jpg)
Restoring Your Solid Surface Sink
Step One: Choose the Right Repair Kit Step Two: Prepare the Area Step Three: Mix the Resin Step Four: Add Tint to the Resin Step Five: Apply the Resin Step Six: Smooth the Resin Step Seven: Allow the Resin to Dry Step Eight: Sand the Repaired Area Frequently Asked Questions How to Prevent Your Sink From Cracking and Chipping

Whitehaus Collection Fireclay and Porcelain Sink Repair Kit YouTube
Product Details Formulated to repair damaged baths, sanitary ware, ceramic tile and kitchen appliances, this Cramer Bath and Kitchen Repair Kit features catalyzed filler that leaves a near invisible repair. Easily mix the filler and hardener, apply, sand and then apply top coat.
Bathroom Sink Crack Repair Kit Semis Online
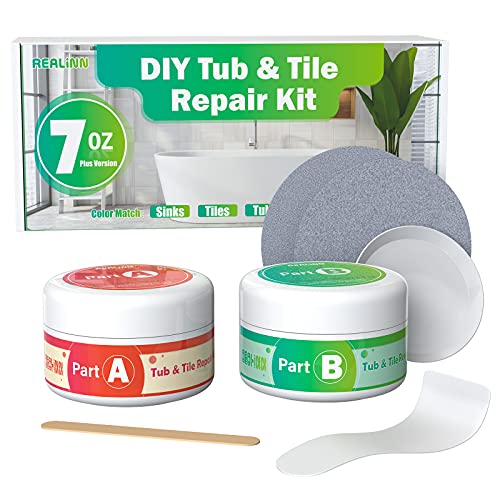
Preparing the epoxy resin mix. Using an electronic scale, a resin repairs kit and a spatula, mix product A with product B according to the ratio set out in the manufacturer's instructions. Leave the product to rest for the specified time and prepare for application. 3. Applying the epoxy resin and sanding.
